XLR Microphones for Vlogging: The Complete Guide
I. Introduction
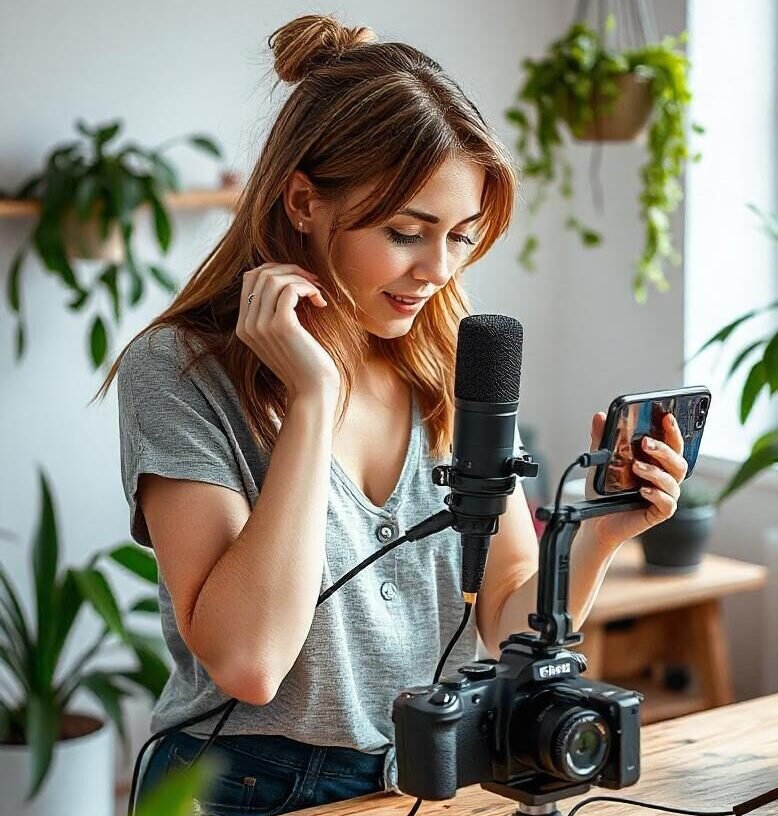
When it comes to creating high-quality content for vlogs, sound quality is just as important as the visuals, and using an XLR microphone could be the key to elevating your audio game. If you’ve spent any time watching vlogs or YouTube videos, you’ve probably noticed how much of a difference good audio makes in the overall experience. While many vloggers opt for USB microphones due to their convenience, XLR microphones offer superior sound quality and greater flexibility that can take your content to a professional level.
In this guide, we’ll explore why XLR microphones are ideal for vlogging, how to choose the right one, and how they stack up against USB microphones. We’ll also look at some top choices for vloggers and provide tips on setup and common mistakes to avoid. By the end, you’ll have a comprehensive understanding of how to use XLR microphones to make your vlogging content sound its best.
II. What Are XLR Microphones?
Before diving into the world of XLR microphones, it’s important to understand what they are and how they differ from other types of microphones.
1. Definition and Basic Function
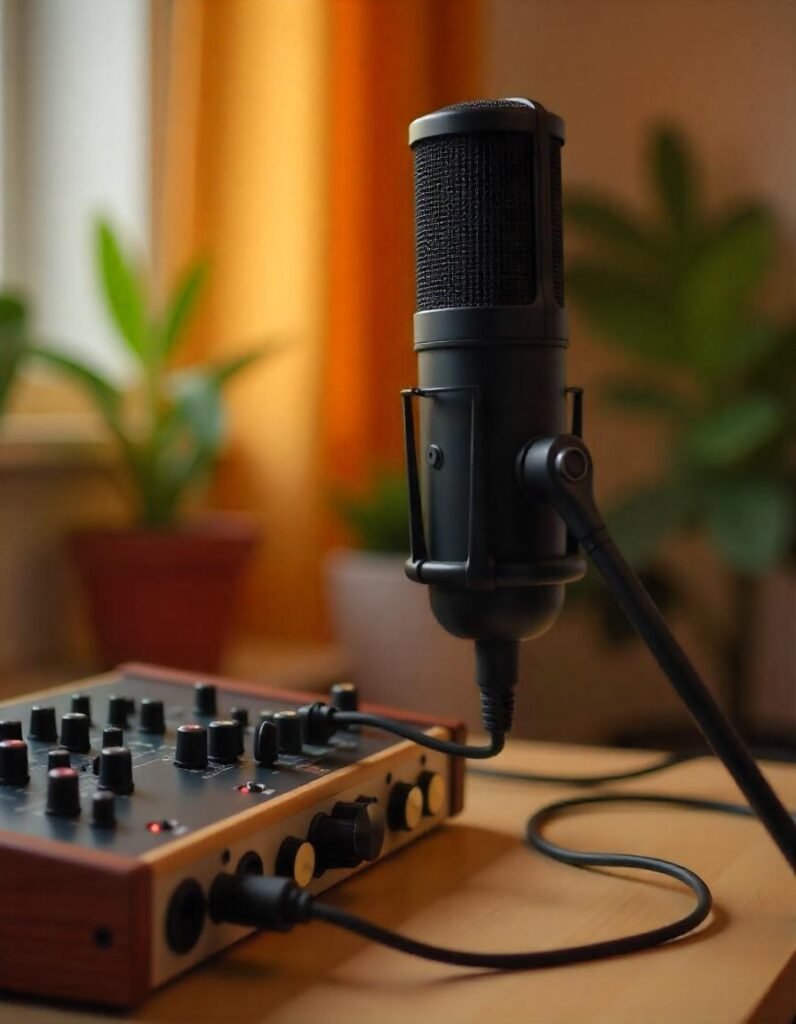
An XLR microphone uses an XLR connector (a three-pin connector) to transmit audio signals. This type of microphone is often found in professional audio equipment and is preferred for its ability to deliver high-quality, clean sound over long distances. XLR microphones typically require an audio interface or a mixer to convert the analog signal into a digital one that can be used by a camera or computer.
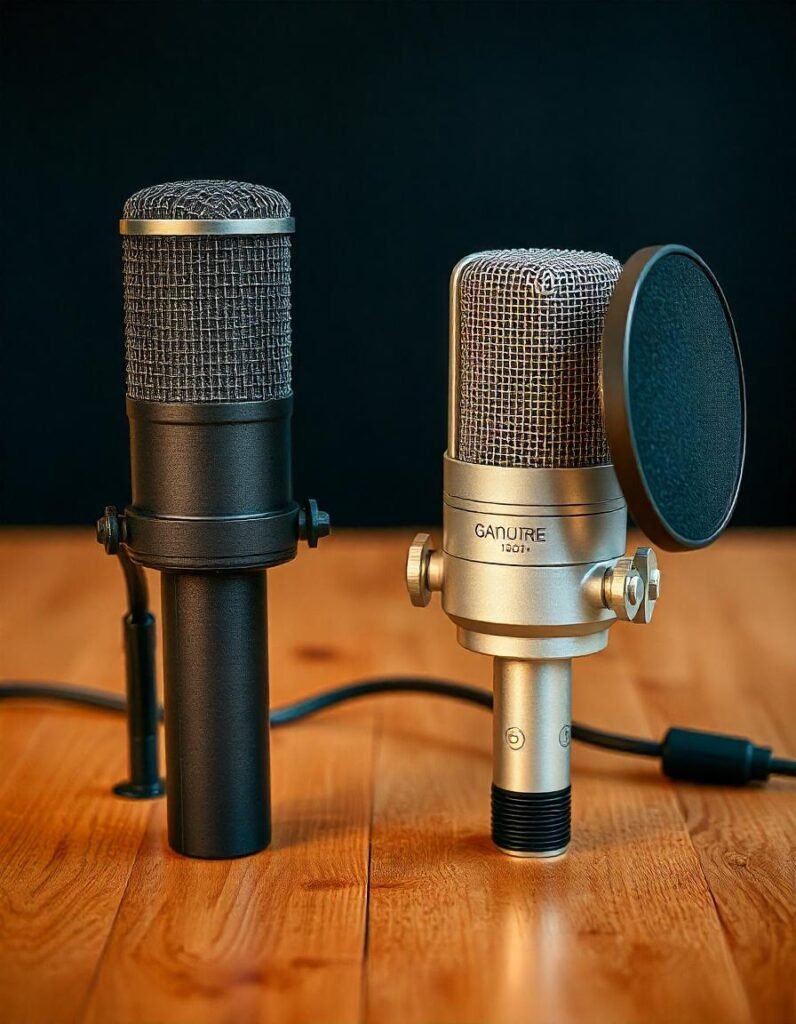
2. How XLR Microphones Compare to USB Microphones
USB microphones are a popular choice for vloggers because they are easy to use and don’t require additional gear. Simply plug them into your computer or camera, and you’re ready to go. However, while USB mics offer convenience, they generally can’t match the sound quality, customization, and flexibility of XLR microphones.
XLR microphones need an external audio interface or mixer, but this allows for better control over the sound. They typically have higher-quality components, resulting in clearer and more accurate audio. Moreover, they tend to have a more robust build, making them ideal for professional environments.
3. Why Professionals Choose XLR Microphones
Professionals choose XLR microphones because they provide superior sound quality, durability, and versatility. With XLR mics, you can adjust the audio in ways that USB microphones simply can’t. From tweaking gain levels to changing preamps or using various effects, the control that XLR microphones offer is invaluable for achieving the best sound possible.
III. Benefits of Using XLR Microphones for Vlogging
While USB microphones might offer simplicity and convenience, XLR microphones bring a range of benefits that make them worth the investment for vloggers who prioritize quality.
1. Superior Audio Quality
XLR microphones are known for delivering professional-grade sound. They capture every detail, whether it’s a soft whisper or a loud announcement, and they do so with exceptional clarity. Many vloggers find that the difference in audio quality between XLR and USB microphones is immediately noticeable.
2. Flexibility and Customization
One of the main reasons vloggers switch to XLR microphones is the flexibility they offer. With an XLR setup, you can adjust sound levels, add effects, and fine-tune the recording environment. This level of control ensures that you can always get the best possible audio for your videos.
3. Durability and Longevity
XLR microphones are built to last. Unlike USB mics, which may wear out over time or be limited by their plastic components, XLR mics are made from high-quality materials. They are durable and can withstand the rigors of frequent use, making them ideal for vloggers who are constantly on the move or working in different environments.
4. Adaptability for Different Recording Setups
Whether you’re recording in a studio or outdoors, XLR microphones are adaptable to various setups. With the right interface or mixer, you can use your XLR mic in nearly any situation, giving you the freedom to create content anywhere.
IV. How to Choose the Right XLR Microphone for Vlogging
Choosing the right XLR microphone can be overwhelming with so many options available. To make it easier, let’s break down the key factors you should consider before making your purchase.
1. Sound Quality Considerations
The primary reason for using an XLR microphone is its superior sound quality. When choosing an XLR mic, look for features such as a broad frequency response (the range of sound frequencies the mic can capture), low self-noise (the internal noise produced by the mic), and a clear, balanced sound.
2. Microphone Polar Patterns
Polar patterns determine how a microphone picks up sound from different directions. The most common patterns are:
- Cardioid: Picks up sound primarily from the front, making it ideal for solo vloggers.
- Omnidirectional: Picks up sound from all directions, useful for capturing the ambiance or recording multiple people.
- Bi-directional: Picks up sound from the front and back, good for interviews or two-person setups.
Choosing the right pattern will depend on your recording environment and what you’re trying to capture.
3. Budget and Price Range
XLR microphones can range in price from budget-friendly options to high-end professional models. As with any purchase, your budget will play a role in determining which mic is best for you. However, even in the lower price range, there are many XLR microphones that offer great sound quality and durability.
4. Compatibility with Your Setup
Make sure the XLR microphone you choose is compatible with your vlogging setup. Check whether your camera or audio interface has the necessary ports, and consider whether you’ll need additional accessories (such as an audio interface, preamp, or mixer) to get the most out of your microphone.
5. Durability and Build Quality
Look for a microphone with a sturdy build, especially if you plan to use it frequently or take it on the go. Mic stands and shock mounts can also play a role in enhancing durability and performance.
V. Top XLR Microphones for Vloggers (With Reviews)
To make your decision easier, here are some of the top-rated XLR microphones specifically suited for vloggers, along with detailed reviews on their performance.
| Microphone | Price | Features | Pros | Cons | |
|---|---|---|---|---|---|
| Shure SM7B | $399 | Cardioid, dynamic | Exceptional sound quality, versatile | High price, requires a good preamp | |
| Rode NT1-A | $229 | Cardioid, condenser | Super sensitive, low self-noise | Prone to picking up background noise | |
| Audio-Technica AT2020 | $99 | Cardioid, condenser | Affordable, clear sound | Not as durable as others | |
| Sennheiser MK4 | $399 | Cardioid, condenser | Great for voice recording | Expensive, large form factor | |
| AKG P220 | $199 | Cardioid, condenser | Solid build, excellent sound | Needs proper shock mount |
1. Shure SM7B
The Shure SM7B is a favorite among podcasters, streamers, and vloggers for its warm sound and versatility. It’s excellent at rejecting background noise, making it ideal for vloggers who record in less-than-perfect environments. However, it does require a powerful preamp, so it might not be the best choice if you’re on a tight budget.
2. Rode NT1-A
Rode’s NT1-A is known for its incredibly low self-noise, making it perfect for capturing detailed, clear audio. The downside is that its sensitivity can also lead to picking up more background noise, so it works best in a controlled recording environment.
3. Audio-Technica AT2020
The AT2020 offers fantastic sound quality at a lower price point. It’s a great choice for vloggers who want a high-quality microphone without breaking the bank. However, it’s less durable compared to more expensive models.
4. Sennheiser MK4
The Sennheiser MK4 offers excellent sound quality and is built like a tank. It’s particularly well-suited for voice recording, but its larger size might make it less ideal for some vlogging setups.
5. AKG P220
The AKG P220 strikes a balance between affordability and quality. It’s a solid option for vloggers who need a reliable microphone that delivers clear, professional-grade sound. However, it does require a shock mount to avoid handling noise.
VI. Additional Equipment You Need for XLR Microphones
Using an XLR microphone for vlogging involves more than just picking the right mic—you’ll also need some additional equipment to get the best performance.
1. Audio Interface
An audio interface is essential for connecting your XLR mic to your computer or camera. It converts the analog signal from the mic into a digital signal that can be recorded. Popular choices include the Focusrite Scarlett 2i2 and the PreSonus AudioBox USB.
2. Pop Filter or Windscreen
A pop filter or windscreen helps eliminate plosive sounds (like “p” and “b” sounds) and reduces wind noise when recording outdoors. They are inexpensive but can significantly improve your audio quality.
3. Mic Stand or Boom Arm
A solid mic stand or boom arm is crucial for positioning your XLR microphone correctly. This also reduces unwanted noise from handling the mic during recordings.
4. Cables and Adapters
You’ll need high-quality XLR cables to connect your microphone to your audio interface. Ensure that the cables are durable and long enough to reach your recording device.
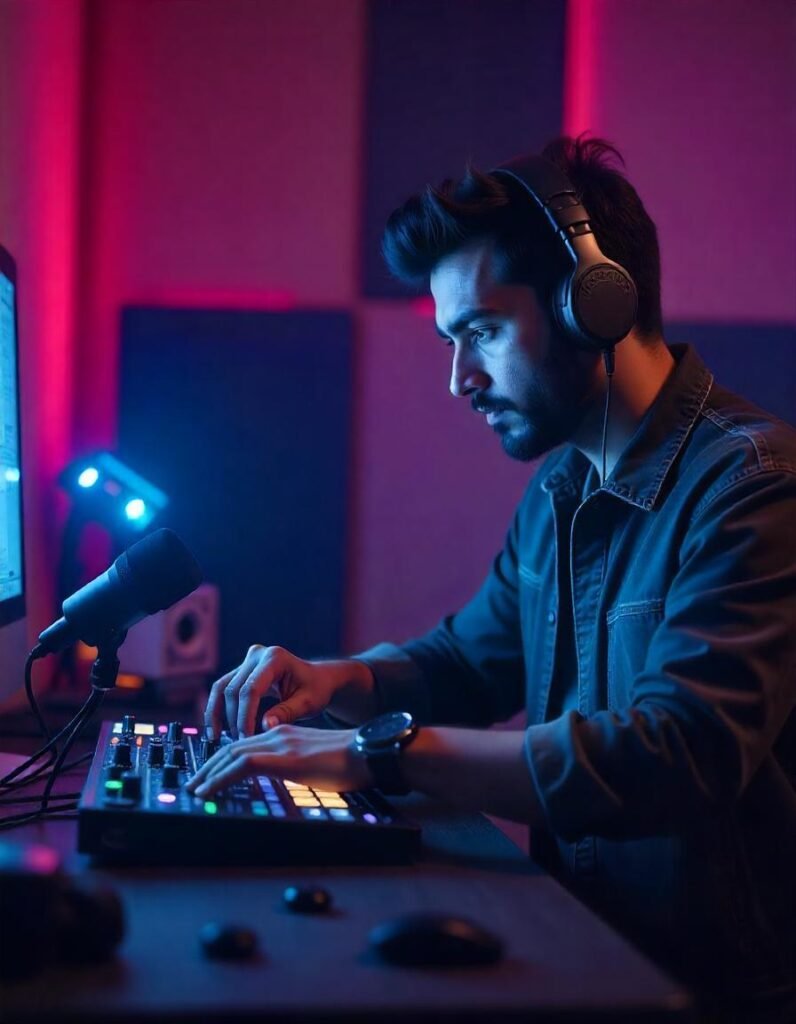
5. Headphones for Monitoring
Invest in a good pair of headphones for real-time audio monitoring. This helps you catch any issues with the recording before you start editing.
VII. Setting Up an XLR Microphone for Vlogging
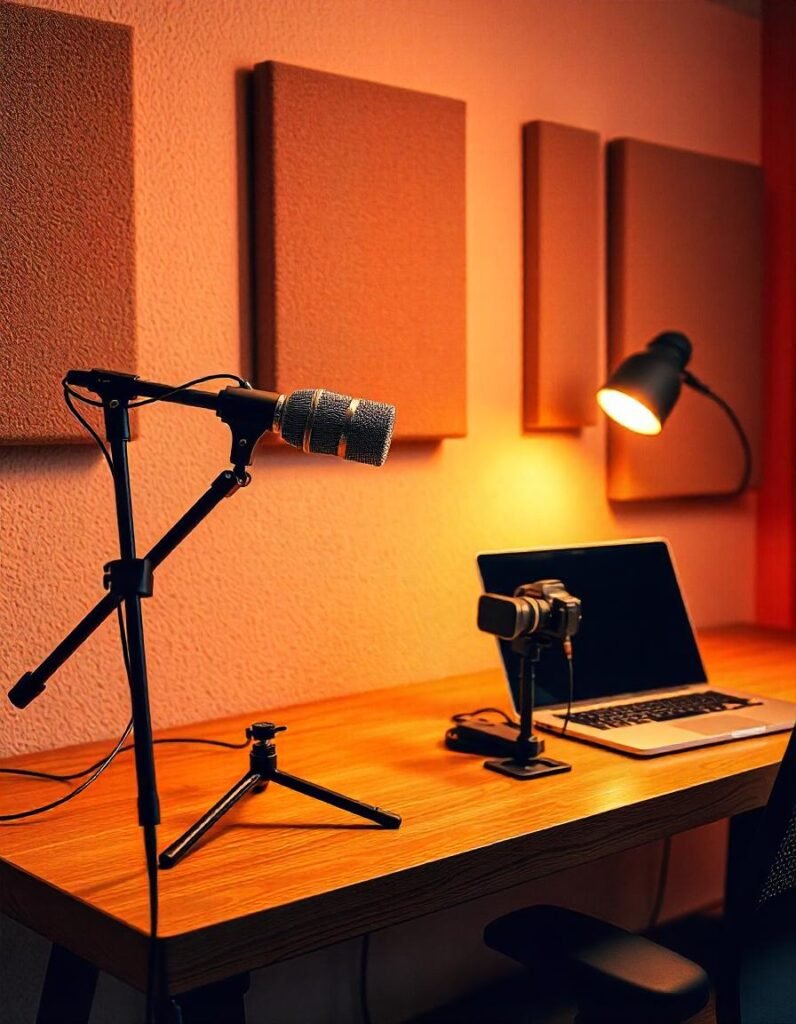
Once you’ve selected your XLR microphone and gathered the necessary accessories, the next step is setting everything up for optimal performance.
1. Connecting the Microphone to the Audio Interface
Start by connecting the XLR cable from the microphone to your audio interface. Then, plug the interface into your computer or camera using the appropriate connection (USB or another type). Make sure your device recognizes the new input.
2. Positioning the Microphone for Best Sound
Place the microphone at an optimal distance from your mouth—usually about 6-8 inches. Avoid directly placing it in front of your mouth to reduce popping sounds and sibilance.
3. Adjusting Gain and Levels
Set the input gain on your audio interface to an appropriate level. Too high, and the audio will distort; too low, and you’ll get weak sound. Aim for a balanced level where the audio is clear without clipping.
4. Testing Your Setup
Before starting your vlog, do a quick test recording to check for any issues. Make sure the audio is clear, and adjust settings if necessary.
VIII. Common Mistakes to Avoid When Using XLR Microphones for Vlogging
While XLR microphones offer incredible sound quality, there are a few common mistakes that even experienced vloggers can make when using them.
1. Overdriving the Gain
Turning up the gain too high can lead to distorted audio. Always monitor the levels to ensure they stay within a healthy range.
2. Improper Mic Placement
Placing the mic too far away or too close can negatively affect your audio. Test different placements to find the best sound.
3. Forgetting to Use Pop Filters or Windscreens
Not using a pop filter or windscreen can result in harsh sounds that distract from your content. Always use these accessories when recording.
4. Neglecting Room Acoustics
The acoustics of the room where you record can make a huge difference. Try to minimize background noise and echo by recording in a quiet, treated space.
IX. Final Thoughts: Why XLR Microphones Are Worth the Investment for Vloggers
Incorporating an XLR microphone into your vlogging setup can significantly improve the quality of your content, bringing professional-level audio to your audience. While they require a bit more gear and setup compared to USB mics, the flexibility and superior sound quality make them a worthwhile investment for any serious vlogger.
X. Frequently Asked Questions (FAQs)
1. What’s the difference between dynamic and condenser XLR microphones?
Dynamic microphones are more durable and can handle louder sounds without distortion, making them great for noisy environments. Condenser microphones, on the other hand, are more sensitive and ideal for capturing detailed audio in controlled environments.
2. Can I use an XLR microphone with my DSLR camera?
Yes, but you’ll need an audio interface or a camera that has an XLR input. Many DSLR cameras don’t have native XLR ports, so an adapter or interface is necessary.
3. Do I need an audio interface for my XLR mic?
Yes, an audio interface is required to connect your XLR microphone to a computer or other device. It converts the analog signal from the microphone into a digital format.
4. How do I reduce background noise when using an XLR microphone?
You can reduce background noise by using directional microphones (like cardioid) and setting your mic gain to an appropriate level. Recording in a quiet room with minimal echo also helps.
5. Is it worth upgrading from a USB mic to an XLR mic for vlogging?
If you’re serious about improving your audio quality and are willing to invest in the necessary gear, upgrading to an XLR microphone can make a big difference in sound clarity and control.