The Ultimate Guide to LED Panels for Vlogging
Introduction: The Importance of Lighting in Vlogging
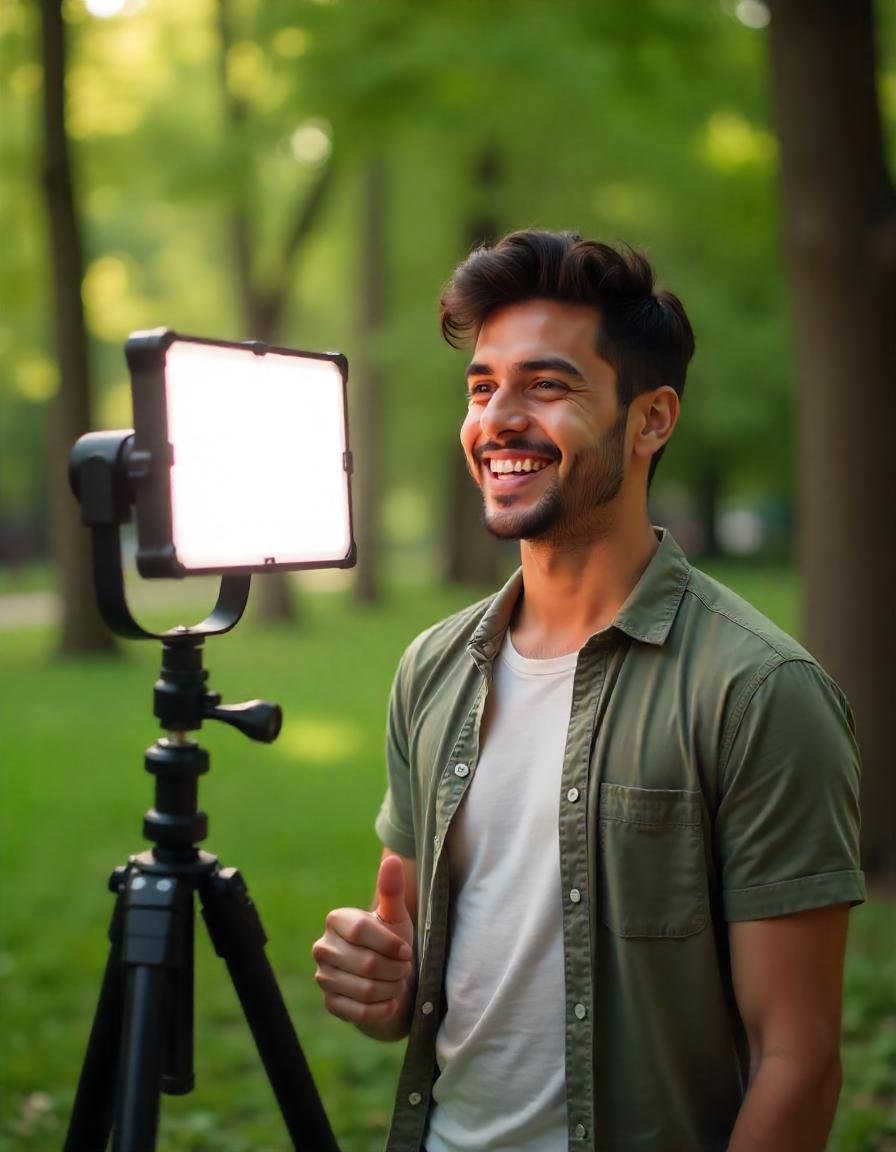
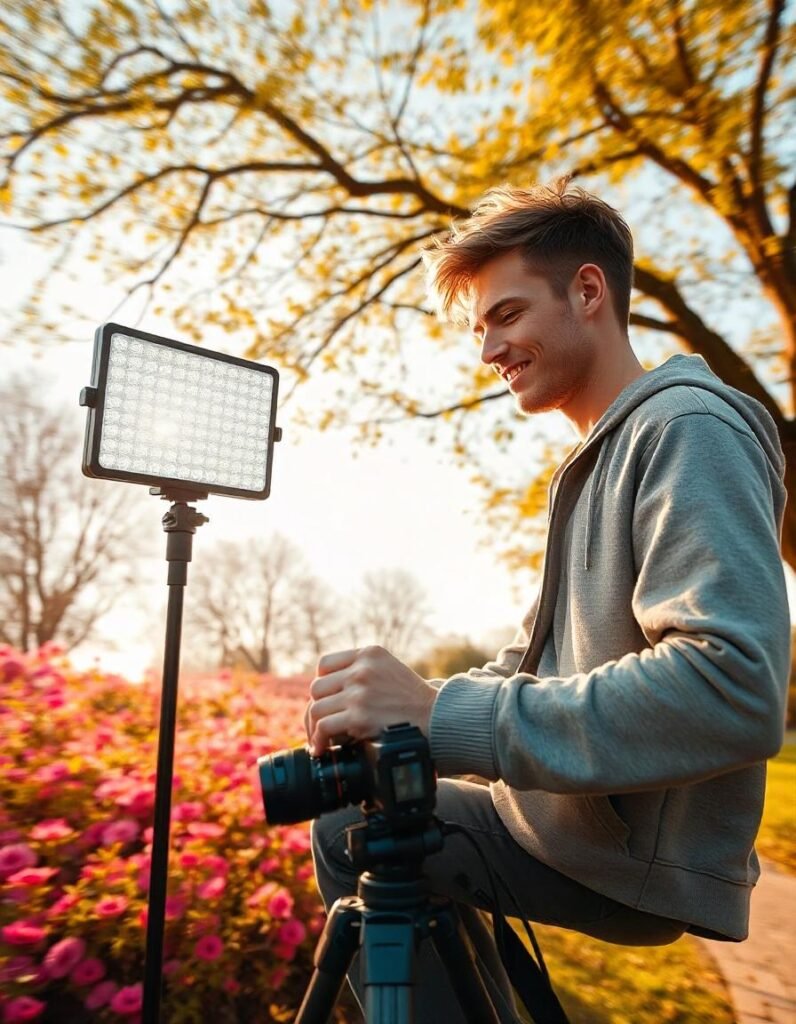
Good lighting is arguably the most crucial aspect of vlogging. Whether you’re filming in a cozy corner of your room or on a scenic outdoor shoot, lighting directly affects the visual quality of your content. Without proper lighting, even the best camera and equipment will fall short. Enter LED panels—an affordable, efficient, and highly effective solution to enhance your vlogs.
In this guide, we’ll explore everything you need to know about LED panels for vlogging, from understanding their basics to selecting the best ones for your needs. We’ll also dive into how to optimize your lighting setup and make your videos stand out. Let’s get started!
Section 1: Understanding LED Panels for Vlogging
1.1 What Are LED Panels?
LED panels are flat, thin, and lightweight lighting sources that use Light Emitting Diodes (LEDs) to produce light. These panels are known for their energy efficiency, long lifespan, and adjustable features, making them a popular choice for content creators, especially vloggers.
Unlike traditional light bulbs, LED panels emit light more uniformly, making them perfect for producing soft, natural-looking illumination for video production. They come in various sizes, shapes, and designs, allowing vloggers to choose the right one based on their specific requirements. Whether you’re creating content indoors or outdoors, LED panels can easily be adapted to different scenarios.
1.2 Key Benefits of Using LED Panels for Vlogging
There’s a reason why LED panels have become a go-to for vloggers worldwide. Their advantages go beyond just producing light. Here are a few key benefits of using them in your vlogging setup:
- Energy Efficiency: LED panels use a fraction of the energy compared to traditional lighting sources like incandescent bulbs. This makes them perfect for extended shooting sessions without running up your electric bill.
- Adjustable Brightness and Color Temperature: Many LED panels allow you to fine-tune the brightness and color temperature to match your environment or desired aesthetic. Whether you’re shooting in daylight or creating a moody atmosphere, LED panels provide the flexibility to get the look you want.
- Portability and Flexibility: LED panels are lightweight and compact, making them ideal for vloggers who are always on the move. Most panels come with adjustable stands, and many can even be mounted directly to your camera for a mobile setup.
- Durability: LEDs are known for their longevity. An LED panel will outlast most traditional bulbs and is much more durable, with many being able to withstand some rough handling, which is essential for vloggers on the go.
1.3 Types of LED Panels Available
When choosing an LED panel, it’s important to understand the different types available. These can be broadly categorized into the following:
- On-Camera LED Panels: These panels are typically smaller and designed to be mounted directly onto your camera. They’re highly portable, making them perfect for shooting vlogs while traveling or for smaller setups.
- Off-Camera LED Panels: These are larger and are usually placed around the subject or scene to create a more controlled lighting environment. They offer greater flexibility and are ideal for more permanent or professional setups.
- Bi-Color LED Panels: These panels allow you to adjust both the brightness and color temperature, ranging from cool (blueish) to warm (yellowish) tones. This feature is especially useful when filming in different environments or lighting conditions.
- RGB LED Panels: RGB panels offer the ability to change not only the brightness and color temperature but also the color itself. This opens up possibilities for creating artistic, colorful lighting effects to make your vlogs stand out.
Section 2: Choosing the Right LED Panel for Your Vlog
2.1 Factors to Consider Before Buying an LED Panel
Before you dive into purchasing an LED panel, it’s important to consider a few factors to ensure it meets your specific vlogging needs. Here are some things to think about:
- Budget: LED panels come in a wide price range. While you can find affordable options, investing in a higher-quality panel might be worth it if you plan to vlog regularly or aim for professional-grade content.
- Size and Portability: If you vlog while traveling or need to set up in small spaces, you’ll want a panel that is compact and easy to transport. On the other hand, if you have a dedicated filming space, a larger panel may work best for achieving the right lighting.
- Power Options: LED panels can run on batteries or plug into a wall outlet. Battery-operated panels offer more flexibility if you’re filming outdoors or on the go, while plugged-in panels provide continuous power for long sessions.
- Durability: If you’re planning to use your LED panel extensively, ensure it has a sturdy build. Consider materials like metal over plastic for better longevity.
2.2 Key Features to Look For in an LED Panel
When shopping for an LED panel, these are some key features you should prioritize:
- Adjustable Brightness and Color Temperature: These are essential for creating the perfect lighting for various situations, whether you need bright, crisp lighting for beauty vlogs or soft, warm lighting for cozy setups.
- CRI (Color Rendering Index): A high CRI (above 90) ensures that colors in your videos appear more accurate and true to life. A lower CRI can cause colors to look washed out or distorted.
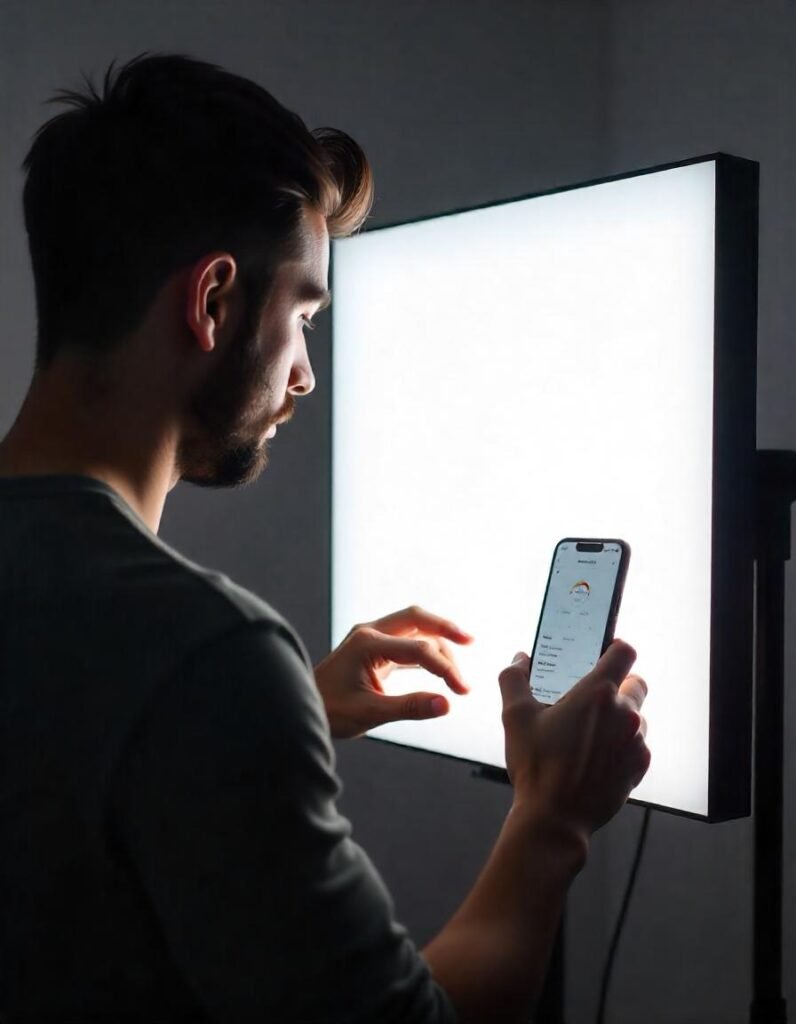
- Dimmable Controls and Remote Operation: Many LED panels offer dimming options, allowing you to adjust the light to your liking. Remote operation or app control makes it easier to change settings during a shoot without physically adjusting the panel.
- Mounting Options: Some LED panels come with adjustable stands, while others are designed to be mounted directly onto your camera or tripod. Consider the type of setup you need and ensure the panel is compatible with your equipment.
2.3 Popular LED Panel Brands for Vlogging
Here are some popular brands that offer high-quality LED panels designed for vloggers:
- Aputure: Known for its professional-grade lighting equipment, Aputure offers a range of LED panels, such as the Aputure Amaran series, that are widely favored for their color accuracy and performance.
- Neewer: Neewer is an affordable yet reliable brand for budget-conscious vloggers. Their LED panels come in a variety of sizes and offer great flexibility.
- Godox: Godox is another trusted name in lighting. Their LED panels are known for their high brightness levels and reliability.
- Lume Cube: Lume Cube specializes in portable, compact LED panels. Their products are ideal for vloggers who need something small but powerful for on-the-go shooting.
- Elgato: A favorite among streamers and vloggers alike, Elgato’s LED lights are known for their ease of use and excellent integration with streaming setups.
Section 3: Setting Up LED Panels for Vlogging
3.1 How to Position Your LED Panel for Optimal Lighting
Positioning your LED panel correctly is key to achieving the desired lighting for your vlogs. Here’s a simple guide to help:
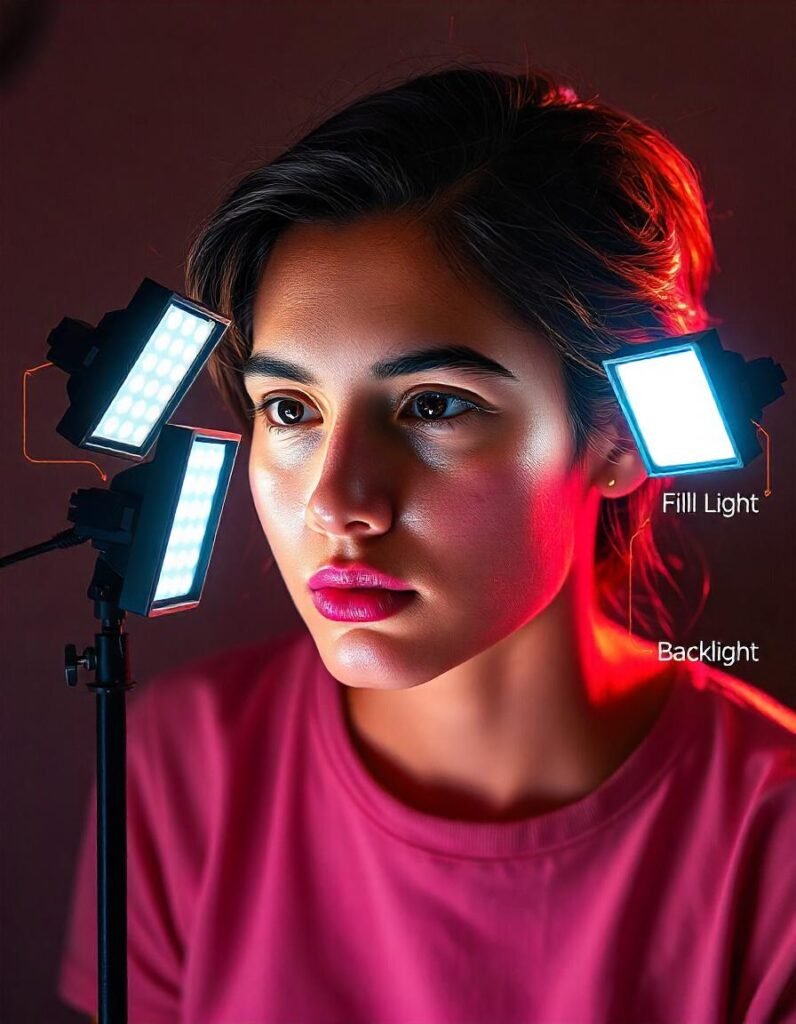
- Three-Point Lighting Setup: This is a classic lighting technique used in filmmaking and vlogging. It involves three lights: the key light (main light), the fill light (to soften shadows), and the backlight (to create separation from the background).
- Key Light Placement: Position the key light at a 45-degree angle in front of you, either to the left or right, to illuminate your face evenly.
- Fill Light: The fill light should be placed on the opposite side of the key light, at a lower intensity, to soften shadows and balance the overall lighting.
- Back Light: The backlight, placed behind you, adds depth to your shot and creates a nice separation between you and the background.
3.2 How to Adjust Brightness and Color Temperature
LED panels often have adjustable settings for both brightness and color temperature. Here’s how you can use them to create the perfect lighting:
- Brightness: Adjust the brightness depending on your shooting environment. If you’re in a bright room, you may need to dial it down, but if you’re shooting in a dimly lit space, increase the brightness.
- Color Temperature: Color temperature is measured in Kelvin (K). A cool light (around 5600K) works well for daylight conditions, while a warm light (around 3200K) creates a cozy, inviting atmosphere. Many LED panels have bi-color options, so you can easily switch between cool and warm tones.
3.3 Tips for Avoiding Common Lighting Mistakes
Even with the right LED panel, mistakes in setup can lead to poor lighting results. Here are some tips to avoid common pitfalls:
- Avoid Overexposure: If your lighting is too bright, your face will appear washed out. Use dimming features to control the brightness and ensure your features are visible.
- Correct Shadow Placement: Be mindful of harsh shadows. Avoid placing the light too directly in front of you, as this can create unflattering shadow effects.
- Monitor Your Background: Ensure that your lighting doesn’t spill too much onto the background, creating a distracting or uneven effect.
Section 4: Creative Lighting Techniques with LED Panels
4.1 Using LED Panels for Creative Effects
LED panels aren’t just about lighting subjects evenly—they can also help you get creative with your visuals:
- RGB LED Panels for Color Effects: RGB panels allow you to experiment with colored lighting effects. You can use them to highlight specific areas in the background, create a mood, or even add a pop of color to your subject.
- Backlighting for Drama: Backlighting creates a silhouette effect, adding drama and depth to your shots. This technique is especially useful for interviews or cinematic vlogs.
4.2 How to Create Soft Lighting for Flattering Portraits
Soft lighting is essential for creating flattering portraits that highlight your features without harsh shadows. Here’s how to achieve this:
- Use Diffusers: Attach a diffuser to your LED panel to soften the light. This will give your face a more even, natural look.
- Position the Light: Place your light at a 45-degree angle to the side and slightly above your face for the most flattering effect.
4.3 Advanced Lighting Techniques: Rim and Accent Lighting
For more advanced setups, rim and accent lighting can add depth to your vlogs:
- Rim Lighting: This technique involves placing a light behind you to create a halo-like effect around your edges, helping separate you from the background.
- Accent Lighting: Use a second light to highlight specific features of your scene or subject, creating a more dynamic and visually interesting composition.
Section 5: Maintaining Your LED Panel and Lighting Setup

5.1 Proper Care and Maintenance of LED Panels
To ensure your LED panel continues to perform at its best, it’s important to maintain it properly:
- Cleaning: Regularly clean the surface of your LED panel to prevent dust and debris from affecting the light output.
- Storage: When not in use, store your LED panel in a protective case to prevent accidental damage.
- Checking for Issues: Periodically inspect your panel for any signs of wear or malfunction. If you notice flickering or dimming, it may be time to replace the LEDs.
5.2 Troubleshooting Common LED Panel Issues
Common LED panel issues include:
- Flickering: This can be caused by power instability. Ensure your panel is securely connected to its power source and that the battery is fully charged.
- Uneven Lighting: If the light seems uneven, check the diffusion material and ensure there are no obstructions in front of the panel.
Section 6: Enhancing Your Vlog Production with Lighting Accessories
6.1 Essential Accessories for LED Panels
Enhance your LED panel’s functionality with the following accessories:
- Light Stands: To stabilize and position your LED panel correctly.
- Diffusers: For softer, more flattering lighting.
- Remote Control: To adjust settings without needing to physically touch the panel.
6.2 Multi-Lighting Setups: Adding Additional LED Panels
For professional-quality setups, consider using multiple LED panels:
- Three-Point Lighting: Use at least three panels to set up a complete lighting system for even coverage and dynamic shots.
- Accent Lights: Add extra panels for accent lighting, especially when you want to highlight certain areas or create visual interest.
Section 7: Final Thoughts on LED Panels for Vlogging
7.1 Wrapping Up: How LED Panels Can Transform Your Vlogs
Investing in the right LED panel can significantly enhance your vlogging setup, providing better control over lighting, improving visual quality, and giving your content a more professional look. Whether you’re just starting out or you’re a seasoned vlogger, having quality lighting makes all the difference in creating engaging, visually appealing content.
Start experimenting with different setups, and don’t be afraid to get creative with your lighting choices. Your vlogs will shine brighter, and your audience will notice the difference!
Section 8: Here are some of the top LED panels for vlogging, known for their quality, performance, and ease of use:

8.1 Aputure Amaran 100d
- Why It’s Great: The Aputure Amaran 100d is a powerful and reliable lighting option, perfect for vloggers who need exceptional brightness and color accuracy. It’s renowned for its excellent CRI rating (95+), ensuring natural-looking skin tones and vibrant colors in your videos.
- Key Features:
- 100W brightness for intense illumination
- Adjustable color temperature (5500K) for daylight-balanced lighting
- Durable and portable design
- Ideal for both studio and outdoor vlogging setups
- Price: Around $200 (buy on amazon)
8.2 Neewer 660 LED Video Light
- Why It’s Great: One of the best budget-friendly LED panels on the market, the Neewer 660 LED offers adjustable brightness and color temperature, making it a great choice for vloggers just starting out or those working within a budget. Despite its low price, it doesn’t skimp on quality.
- Key Features:
- 660 LED beads for bright, even light
- Bi-color adjustable from 3200K to 5600K for versatile lighting setups
- Comes with a remote control for easy adjustments
- Solid build quality for reliable performance
- Price: Around $80-$100 (buy on amazon)
8.3 Godox SL-60W
- Why It’s Great: Known for its soft, even lighting and strong output, the Godox SL-60W is an excellent option for vloggers working in studio environments. This panel delivers consistent lighting, which is ideal for indoor vlogging, interviews, and product demonstrations.
- Key Features:
- 60W LED output for powerful lighting
- 5600K daylight color temperature
- Comes with a remote control for convenient adjustments
- Reliable and durable build for studio use
- Price: Around $199 (buy on amazon)
8.4 Lume Cube 2.0
- Why It’s Great: The Lume Cube 2.0 is perfect for vloggers who need a compact and portable lighting solution. With adjustable brightness and color temperature, it’s an excellent option for mobile setups or shooting in small spaces, whether indoors or on the go.
- Key Features:
- Compact design for maximum portability
- Adjustable brightness (0-1500 lumens) for different lighting effects
- Adjustable color temperature (3200K-5600K)
- Wireless app control for easy adjustments from your phone
- Price: Around $90 (buy on amazon)
8.5 Elgato Key Light
- Why It’s Great: Designed with streamers and content creators in mind, the Elgato Key Light is an ideal choice for vloggers who want full control over their lighting remotely. This slim panel offers adjustable color temperature and brightness, and its integration with Elgato software makes it easy to set up and control.
- Key Features:
- 2,500 lumens for bright, even illumination
- Adjustable color temperature (2900K-7000K) to suit different moods and environments
- Wi-Fi control via Elgato’s software for easy adjustments
- Slim and sleek design to fit in any setup
- Price: Around $199 (buy on amazon)
8.6 GVM 800D-RGB
- Why It’s Great: The GVM 800D-RGB is an excellent choice for vloggers looking for dynamic lighting options. With both bi-color and RGB settings, this panel lets you experiment with a range of colors and lighting effects, making it perfect for creative shoots and artistic vlogs.
- Key Features:
- RGB color control for vibrant lighting effects
- 800W equivalent output for powerful brightness
- Adjustable color temperature (3200K-5600K) for versatile lighting
- Remote control for easy setup and adjustments
- Price: Around $360 (buy on amazon)
8.7 Godox LR150
- Why It’s Great: The Godox LR150 is a larger LED panel perfect for studio-based vloggers. With a high CRI rating, this panel ensures accurate color reproduction in your videos, making it ideal for those who want to achieve professional-quality results.
- Key Features:
- 150W LED output for high-powered lighting
- Adjustable color temperature (3300K-5600K) for different lighting needs
- Remote control for convenient adjustments
- Quiet operation, making it ideal for video production
- Price: Around $180 (buy on amazon)
8.8 Choosing the Right LED Panel for Your Vlogging Style
These LED panels provide a wide range of options based on your budget and requirements. Whether you’re a beginner or a seasoned vlogger, you can find a suitable option from these choices. Consider the key factors such as portability, brightness, color temperature control, and price when making your decision.
Frequently Asked Questions (FAQ)
Q1: How much do LED panels for vlogging cost?
The cost of LED panels varies depending on features and quality. Budget-friendly options start around $30, while high-end panels can cost upwards of $300 or more.
Q2: Can I use LED panels for outdoor vlogging?
Yes, many LED panels are portable and come with battery-operated options, making them ideal for outdoor vlogging. Just ensure that you have enough battery life to last through your shoot.
Q3: What is the difference between bi-color and RGB LED panels?
Bi-color panels allow you to adjust both brightness and color temperature (cool to warm), while RGB panels offer full color control, enabling you to create different colored lighting effects.
Q4: Do I need multiple LED panels for professional vlogging?
While a single LED panel can work for most setups, professional vloggers often use multiple panels to create a three-point lighting setup or to add creative effects and highlights.
Q5: How do I make sure my LED panel doesn’t create harsh shadows?
To avoid harsh shadows, use a diffuser or softbox with your LED panel, and position the light at a more indirect angle.