Introduction:
In this article, we’ll explore some of the most common vlogging camera problems and provide solutions you can apply to ensure your equipment is working as it should. From battery issues to low-light performance, let’s dive into the ways you can tackle these obstacles and continue producing high-quality videos.
1. Camera Won’t Power On

1.1 Checking the Battery and Power Source
One of the most basic yet common issues with vlogging cameras is that they fail to power on, often due to problems with the battery or power source. It’s easy to forget the essentials, but ensuring your battery is charged and connected properly is the first step to getting your camera up and running.
Start by checking the battery. If it’s completely drained, plug your camera into the charger and wait a few minutes. If your camera still doesn’t power on, make sure the battery is seated correctly in its compartment. Sometimes, the battery can become dislodged, causing the camera not to power on. Additionally, check if the power button feels responsive—if it seems jammed, try pressing it multiple times or using a different button on your camera to confirm it’s not a button malfunction.
1.2 Resetting the Camera
If the camera won’t power on even after ensuring the battery is charged and properly placed, it may be a software glitch that requires a reset. Many modern cameras have a built-in reset option, which can restore your camera’s system to factory settings.
To reset your camera, locate the reset button (usually hidden behind a small pinhole) and gently press it with a paperclip or similar tool. This may resolve the issue if there’s an internal software conflict. However, keep in mind that a factory reset will erase any custom settings or saved preferences.
1.3 Examining the Power Circuit
If all else fails, there could be a deeper issue with your camera’s power circuit. Cameras have complex internal circuits that may malfunction due to electrical issues or physical damage. At this point, it’s time to contact the manufacturer or a professional repair technician for assistance. While some issues can be fixed by the user, power circuit problems typically require specialized attention.
2. Poor Audio Quality
2.1 Checking the Microphone
Audio quality is just as important as video, and poor sound can turn away viewers even if your footage is perfect. Before diving into more complex fixes, always check your camera’s microphone. If your sound is muffled, distorted, or absent, the built-in microphone may be blocked or dirty. Gently clean the mic port with a soft cloth or brush to remove any dirt or debris.
It’s also worth adjusting the mic settings in your camera’s menu. If you’re shooting in a noisy environment, consider setting the microphone sensitivity lower to prevent capturing unwanted background noise.
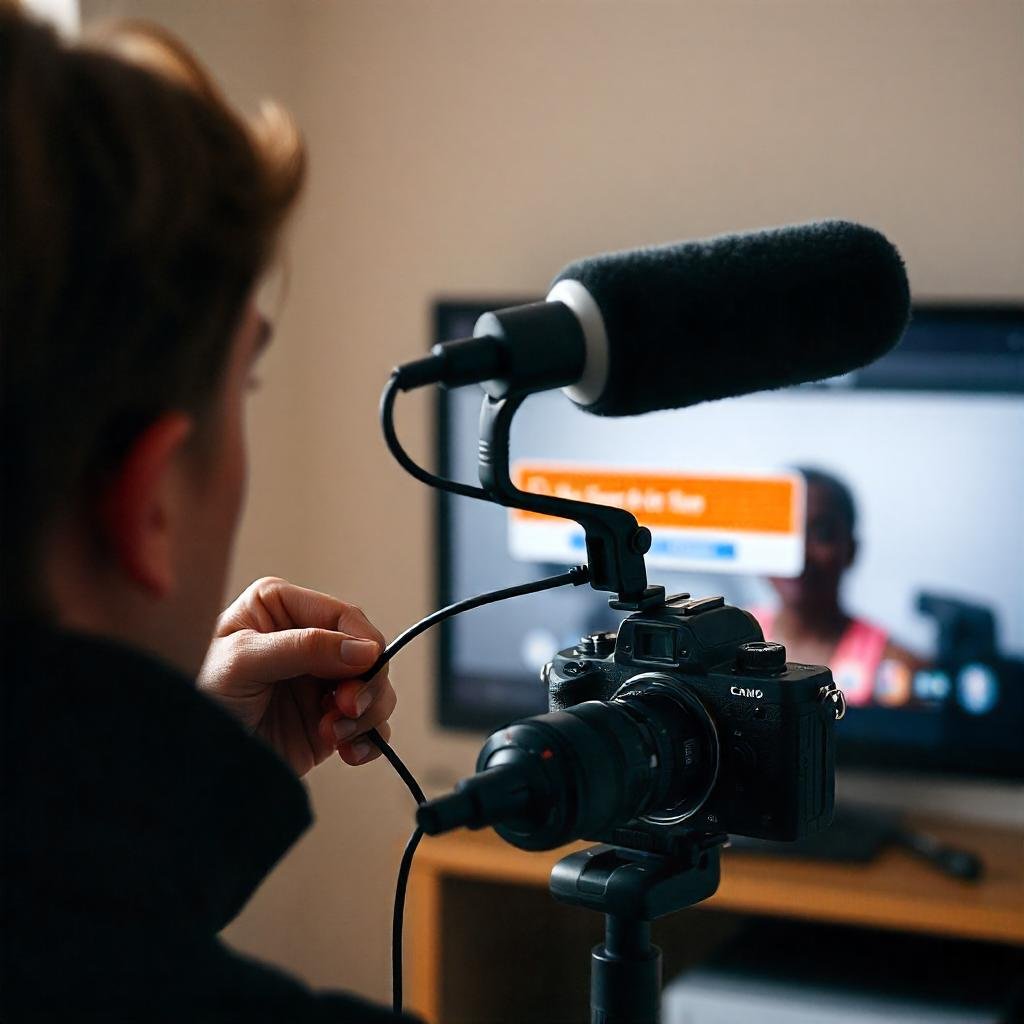
2.2 External Microphone Troubleshooting
Many vloggers use external microphones to achieve higher-quality sound, and these can sometimes be the source of audio issues. First, check the connection to your camera. If you’re using a wired mic, make sure the cable is securely plugged into the microphone input. For wireless mics, verify that both the transmitter and receiver are turned on and connected.
Additionally, check your camera’s audio input settings to ensure the external mic is properly selected as the default input device. Sometimes, the camera may still be set to its built-in microphone by default, even if you’ve plugged in an external one.
2.3 Settings and Software Adjustments
Sometimes the issue lies within the camera’s audio settings or the recording software itself. If you’ve confirmed that the microphone is functioning correctly, it’s time to adjust your camera’s settings.
Most cameras have features like noise reduction, automatic gain control, or volume adjustment. Experiment with these settings to see if you can achieve clearer audio. Additionally, some cameras offer built-in filters that can minimize background noise or distortion. If your camera has these options, they may help improve your audio quality, especially in noisy environments.
2.4 Wind Noise and Echo
Vloggers who film outdoors or in large spaces often experience wind noise or echoing, which can ruin audio quality. To address this, try using a windscreen (often referred to as a “dead cat”) on your microphone. These windshields reduce wind interference and ensure clearer audio during outdoor shoots.
For echo issues, adjust your mic’s gain or volume. If possible, also film in smaller, more controlled spaces that don’t reflect sound as much, as larger rooms tend to amplify unwanted noise.
3. Blurry or Out of Focus Footage
3.1 Checking Auto-Focus Settings
Blurry footage can be incredibly frustrating, especially when filming a fast-paced vlog or an important shot. To fix this, first check if your camera’s autofocus is enabled and functioning correctly. Many vlogging cameras automatically adjust focus, but sometimes they fail to lock onto the right subject, causing blurry images.
Ensure the autofocus settings are properly configured in the camera menu. If your camera allows, choose the specific area you want to focus on manually. This is especially useful if your camera has a face-tracking feature, which will focus on the person in the frame instead of other elements in the background.
3.2 Manual Focus and Focus Lock
If your camera offers manual focus, consider using it to prevent the camera from accidentally focusing on the wrong object. Some vloggers prefer to control focus entirely to maintain creative control. If your camera has a focus lock feature, use it to keep the camera’s focus fixed on a specific subject throughout the shot.
This approach can be especially helpful in dynamic environments where autofocus might struggle, like when moving or shifting between subjects.
3.3 Lens Cleaning and Maintenance
Sometimes, the simplest fix to blurry footage is cleaning your camera lens. Dust, fingerprints, or smudges on the lens can distort the image, making it appear blurry. Clean your lens regularly with a microfiber cloth designed for optical equipment. Never use rough materials, as they can scratch the lens surface.
Additionally, check for any signs of damage or condensation inside the lens. If your lens is damaged, it may be time to replace it.
4. Overheating and Shutting Down During Recording
4.1 Causes of Overheating
Vlogging cameras can overheat during extended recording sessions, especially when shooting in 4K or at high frame rates. Overheating is a common issue, especially in smaller, compact cameras. This can be due to a combination of factors such as excessive processing, camera design, or external environmental factors (like heat).
4.2 Preventing Overheating
Fortunately, there are several steps you can take to prevent overheating and extend your recording time. First, ensure your camera is in a cool, ventilated environment. Avoid filming in direct sunlight or excessively hot rooms.
Additionally, adjust your camera settings to reduce the workload. Shooting in a lower resolution or at a slower frame rate will help reduce the strain on your camera’s processor, which can mitigate overheating. Finally, if you’re filming for long periods, consider using an external power source or battery pack to reduce internal heat buildup.
4.3 Cooling Accessories and Solutions
There are external solutions available that can help manage your camera’s temperature while filming for extended periods. Cooling fans, external power banks, or specially designed camera cases with built-in ventilation can help keep your camera cool. These accessories are especially useful for vloggers who shoot for hours on end.
5. Poor Low-Light Performance

5.1 Using the Right Settings for Low Light
One of the biggest challenges when vlogging indoors or at night is achieving clear, sharp footage in low-light environments. To improve your camera’s low-light performance, adjust your ISO, aperture, and shutter speed. Increasing the ISO can help the camera capture more light, but be mindful of the graininess that comes with higher settings.
The aperture (the size of the lens opening) should be set to a larger value (f/2.8 or lower) to let in more light. Finally, adjust the shutter speed to ensure the image is properly exposed.
5.2 External Lighting Solutions
Investing in good lighting equipment can be a game-changer when shooting in poorly lit areas. Ring lights, softboxes, and LED panels are excellent choices for enhancing the lighting during your shoots. These devices are portable, adjustable, and can provide even, flattering light to improve your video quality.
If you’re on a budget, small clip-on LED lights can also work wonders for adding light to specific areas of your shot.
5.3 Camera Sensitivity to Low Light
Not all cameras are built to handle lowight well, and sometimes upgrading to a camera with better low-light performance is necessary. Cameras with larger sensors tend to perform better in low light by capturing more light per pixel. If you often vlog in dim environments, consider upgrading to a camera known for its low-light capabilities, such as those with full-frame sensors or larger APS-C sensors.
6. Memory Card Errors and Storage Issues

6.1 Memory Card Corruption
A memory card error can be a nightmare for vloggers, potentially causing lost footage or camera malfunction. If you encounter an error message indicating your memory card is corrupted, don’t panic. First, try ejecting and reinserting the card, then check it on your computer to see if any files are recoverable.
If the card is still not working, you may need to format it. Keep in mind that formatting will erase all data on the card, so only proceed with this step if you have already backed up your files.
6.2 Running Out of Storage Space
Running out of space on your memory card is another common issue that can interrupt your filming process. Always keep an eye on available space, especially when shooting in high-resolution formats like 4K. To avoid running out of space during important shoots, regularly transfer files to an external hard drive or cloud storage.
Consider investing in high-capacity cards (64GB, 128GB, or more) that allow you to store more footage without constantly swapping cards.
6.3 Slow Read/Write Speed
Slow read/write speeds can lead to issues like lag or frame drops, especially when recording high-resolution videos. Ensure that you are using a memory card rated for high-speed data transfer. Cards with UHS-II or UHS-III speeds are ideal for 4K recording, as they can handle the large file sizes without slowing down your camera.
7. Camera Shaking or Unstable Footage
7.1 Using a Tripod or Gimbal
Camera shake can ruin an otherwise great video, making your footage look unprofessional and hard to watch. To avoid shaky footage, always use a tripod or gimbal to stabilize your camera. Tripods are perfect for static shots, while gimbals are ideal for capturing smooth, dynamic footage while moving.
7.2 Software Stabilization Features
Some cameras come with built-in software stabilization, but it’s important to know how to enable or adjust these settings. If your camera lacks physical stabilization, digital software stabilization can help reduce shaking in your footage. Many video editing programs, such as Adobe Premiere or Final Cut Pro, also offer post-production stabilization tools that can smooth out shaky footage.
7.3 Fixing Mechanical Issues in the Lens or Body
If your camera is physically unstable due to mechanical issues, it may require more in-depth troubleshooting or repairs. Check the camera body and lens mount for any signs of damage. If you notice any wobbling or misalignment, it could be a sign that the lens or body needs repair.
8. Camera Not Recognizing External Accessories (Mics, Lenses, etc.)
8.1 Checking the Camera Ports and Connections
Sometimes, external accessories like microphones or lenses don’t connect properly, causing issues like no sound or distorted footage. Start by inspecting the camera’s ports. Clean any dust or debris that could be blocking the connection. If you’re using an external mic, ensure that the mic is securely plugged in and that the cable is in good condition.
8.2 Software and Firmware Updates
Outdated firmware can cause compatibility issues with external accessories. Check for any available software or firmware updates for both your camera and accessories. Regularly updating your equipment ensures smoother operation and fewer issues with recognition.
8.3 Testing Accessories on Other Devices
To pinpoint whether the issue lies with your camera or the accessory, test your accessories on other devices. This can help you identify whether the problem is with the camera or the external mic, lens, or other accessory.
9. Camera Lens Errors or Failures
9.1 Diagnosing Lens Issues
Lens problems, such as malfunctioning autofocus or image distortion, can severely impact the quality of your vlogs. If you notice blurry images, jagged lines, or other distortions, it might be time to examine your lens closely. Look for any physical damage, such as scratches or cracks, and inspect the autofocus system to see if it’s responding properly.
9.2 Cleaning and Maintaining Lenses
A dirty lens can create blurring and distortion, so it’s important to regularly clean and maintain your camera’s lens. Use a microfiber cloth to wipe down the lens, and always store your camera in a protective case when not in use.
9.3 When to Seek Professional Lens Repair
If your lens is beyond simple fixes and continues to malfunction, it may need professional repair or replacement. If the lens shows signs of internal damage, such as a loose focus ring or malfunctioning autofocus motor, it’s time to send it to a professional repair service.
How to Ensure Your Camera Stays in Top Shape for Vlogging
While vlogging camera issues can be frustrating, most problems can be fixed with some simple troubleshooting, maintenance, and occasional upgrades. By knowing how to fix common problems like poor audio quality, overheating, and blurry footage, you’ll be able to quickly get back to filming and keep your content fresh. Regular cleaning, software updates, and proper storage management will also help prolong the life of your gear.
With these tips in hand, you can avoid major setbacks and keep producing high-quality vlogs, no matter the challenges that come your way.
FAQ
Q: How do I prevent my camera from overheating during long shoots?
A: To prevent overheating, shoot in cooler environments, use external cooling accessories like fans, and reduce the camera’s resolution or frame rate when possible.
Q: My camera isn’t recognizing my external microphone. What should I do?
A: Ensure that the mic is securely connected, check your camera’s settings to ensure the external mic is selected, and test the mic on another device to rule out any problems with the microphone itself.
Q: My footage is blurry despite using autofocus. What’s wrong?
A: Blurry footage could be caused by dirty lenses, incorrect focus settings, or a malfunctioning autofocus system. Clean your lens, adjust the focus settings, and test the camera on a different subject.
Q: How can I improve my camera’s performance in low light?
A: Increase the ISO, adjust the aperture to a wider setting, or use external lighting such as ring lights or LED panels to enhance your low-light footage.
Q: What should I do if my memory card is corrupted?
A: Try formatting the memory card or using data recovery software. If the card is still not working, replace it with a new one. Always back up your footage regularly to avoid losing important content.