Best Camera Settings for YouTube Vlogging
Creating engaging YouTube vlogs requires more than just a good camera; it’s about knowing the best settings to capture high-quality, professional-looking footage that resonates with your audience. The difference between a well-lit, visually appealing vlog and one that leaves viewers squinting or clicking away is in the details—specifically, the camera settings. In this article, we’ll explore the optimal camera settings for YouTube vlogging, ensuring that your videos not only stand out but also keep your audience hooked from start to finish.
1. Why Camera Settings Matter for YouTube Vlogging
When you’re vlogging, the right camera settings can mean the difference between a dull video and one that captivates your viewers. Understanding the key elements behind video quality is crucial to boosting your vlog’s appeal. Whether you’re a seasoned vlogger or just getting started, mastering your camera settings is the first step toward improving your production value.
1.1 The Role of Lighting and Exposure
No matter how good your camera is, poor lighting can make even the most expensive gear look like it was shot with a smartphone from 2010. Lighting and exposure go hand in hand, as exposure determines how light or dark your footage appears. If your vlog is too dark, your viewers might not see the details of your surroundings, and if it’s too bright, they might miss your facial expressions or the vibrant colors of your setting.
Proper lighting involves both natural light and artificial lights. When indoors, make sure to use diffused light sources or softboxes that evenly light your face. Outdoors, try to shoot during the golden hours—shortly after sunrise or before sunset—when the light is soft and flattering.
1.2 The Impact of Frame Rate and Resolution
Choosing the right frame rate and resolution ensures your vlogs capture smooth, high-quality footage that’s perfect for your editing style. Frame rate refers to the number of frames per second (fps) your camera captures. Standard YouTube videos are usually shot at 30fps, which offers a nice balance between smoothness and clarity. However, some vloggers prefer 60fps to create ultra-smooth action shots, while others may use 24fps for a more cinematic, film-like feel.
Resolution, on the other hand, determines the detail of your video. 1080p (Full HD) is still the go-to choice for many vloggers, providing a great balance between video quality and file size. However, 4K resolution has become increasingly popular, offering ultra-crisp footage that can be cropped or zoomed in during editing without losing detail.
1.3 Audio Settings: Don’t Overlook Sound Quality
While camera settings focus mainly on video, your vlog’s audio quality is equally important for a polished, professional presentation. Poor sound can turn a great video into a frustrating experience for your viewers. Imagine watching a video with muffled voices or constant background noise—it’s a quick way to lose your audience.
The best way to improve your vlog’s audio is to use an external microphone, such as a lapel mic or shotgun mic. These mics capture cleaner, more focused sound, reducing ambient noise. Additionally, adjusting the audio gain on your camera ensures that your voice comes through loud and clear without distorting.
2. Understanding Your Camera’s Settings

Every camera comes with a variety of settings, and understanding what each one does will allow you to maximize its potential for YouTube vlogging. Let’s take a closer look at the settings you should focus on to get the best results for your vlogs.
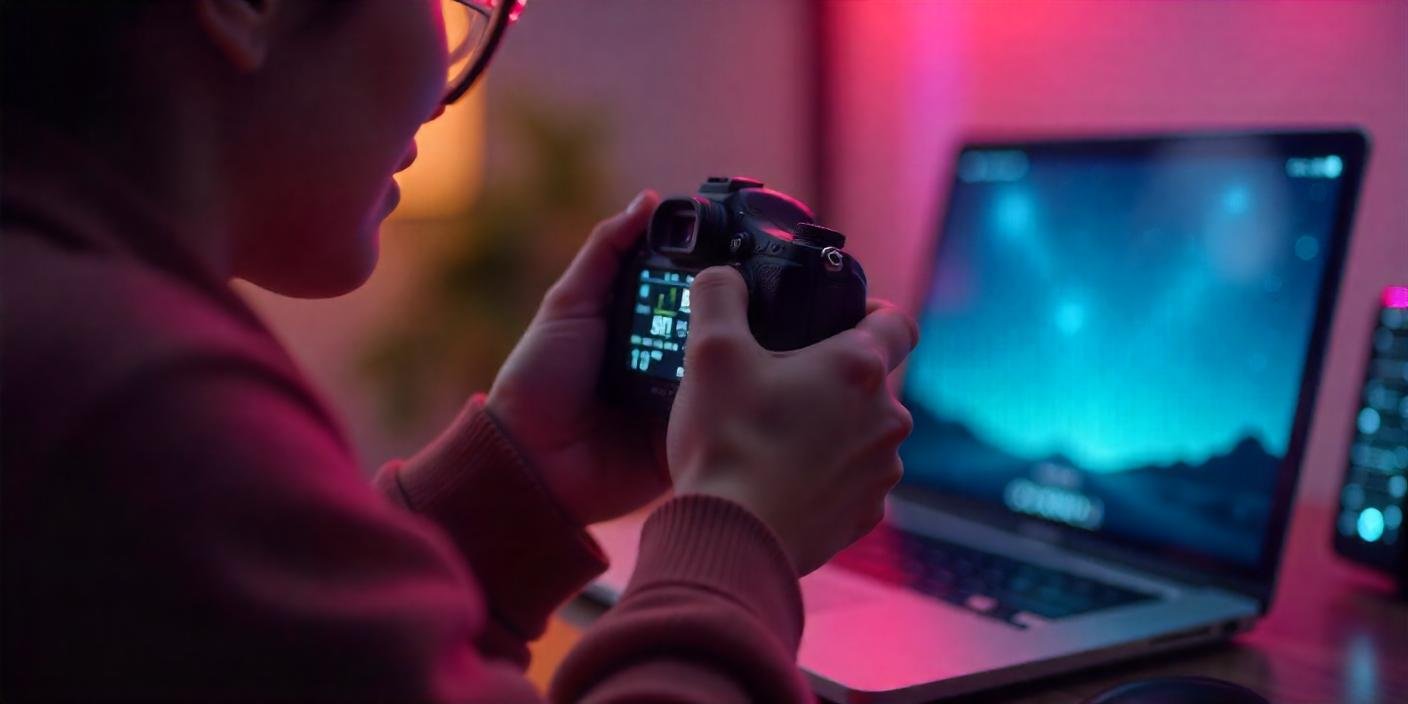
2.1 Shutter Speed: Balancing Motion and Smoothness
Shutter speed controls how motion is captured in your vlog, and finding the right balance between too much blur and too much sharpness is key. A fast shutter speed (e.g., 1/500) will capture very crisp frames, ideal for fast-moving objects but can create choppy footage when used for static subjects. A slower shutter speed (e.g., 1/60) allows for smoother motion, which is generally recommended for vlogging. The rule of thumb is to set your shutter speed to twice your frame rate. For example, if you’re shooting at 30fps, set your shutter speed to 1/60.
2.2 Aperture: Controlling Depth of Field
Aperture isn’t just for controlling how much light enters your camera; it also impacts how much of your scene is in focus—affecting the overall look of your vlog. A wide aperture (e.g., f/1.8) creates a shallow depth of field, which blurs the background and makes you the focal point of the shot. This is especially useful for close-up vlogging or when you want to emphasize your subject.
On the other hand, a smaller aperture (e.g., f/8) increases the depth of field, making more of the scene in focus. This is ideal for outdoor vlogs or wide shots where you want the background to be as clear as the foreground.
2.3 ISO: Managing Light Sensitivity
ISO is one of the most important settings to manage light sensitivity and reduce noise, especially when filming in low-light environments. Increasing ISO can brighten your footage in dim conditions, but going too high can introduce unwanted grain or noise into your video. A good rule is to keep your ISO as low as possible for the best quality.
When filming indoors with artificial lighting, you might need to raise your ISO to compensate for low light. Outdoors, in daylight, you can usually keep it low, ensuring clear, sharp footage.
2.4 White Balance: Ensuring Natural Colors
White balance helps your camera determine the color temperature of the scene, ensuring your vlog looks natural and accurate regardless of the lighting. If your white balance is off, you might end up with a yellowish or bluish tint. Adjusting your white balance to match the light source (e.g., daylight, tungsten) ensures your vlog’s colors remain true to life. Most cameras allow you to set white balance manually, and some have presets for various lighting conditions.
3. Best Camera Settings for Different Vlogging Environments
Your camera settings should adapt to the environment you’re vlogging in—whether indoors, outdoors, or in challenging lighting conditions. Let’s explore the best settings for different situations.
3.1 Vlogging Indoors with Controlled Lighting
Indoor vlogging can be an advantage, as you can control the lighting and avoid harsh outdoor elements. Here’s how to make the most of it:
- Shutter speed: 1/60 (ideal for vlogging indoors)
- Aperture: f/2.8 – f/4 for a nice blur (bokeh) in the background
- ISO: 400-800 (depending on the lighting strength)
- White balance: Set to “Tungsten” or manually adjust according to your light sources
Using softbox lights or ring lights will provide consistent, flattering lighting on your face.
3.2 Vlogging Outdoors in Natural Light
Filming outdoors offers stunning visuals but also presents challenges such as fluctuating natural light and unpredictable weather. Here’s how to adjust:
- Shutter speed: 1/60 – 1/125 for smoother motion
- Aperture: f/2.8 – f/5.6 for a balanced focus
- ISO: 100-400 (depending on how bright the day is)
- White balance: Daylight preset or manual adjustment if the light is warm or cool
Outdoor vlogs, especially those with scenic backgrounds, will benefit from wide apertures to create a soft, focused subject while keeping the landscape in view.
3.3 Vlogging in Low-Light Conditions
Sometimes, you’ll be vlogging in low-light environments, such as in the evening or at night, and that’s where understanding camera settings becomes crucial:
- Shutter speed: 1/60 (to avoid motion blur)
- Aperture: f/1.8 – f/2.8 for better light gathering
- ISO: 800-3200 (higher ISO, but avoid going too high to reduce noise)
- White balance: Adjust to match indoor lighting or use custom settings
Consider using additional lighting sources such as portable LED lights to avoid a grainy look.
4. Frame Rate and Resolution: Getting the Right Look for Your Vlog
The frame rate and resolution of your videos can significantly impact the final product’s look and feel. Let’s take a closer look at how to choose the best options for YouTube vlogging.
4.1 Standard Frame Rates for YouTube
Different frame rates can affect the visual flow of your vlog, with each serving a specific purpose in terms of style and motion.
- 24fps: Often used for a cinematic look. It gives a “film” feel and is best for storytelling and dramatic vlogs.
- 30fps: Standard for YouTube. It provides smooth motion while preserving detail, ideal for talking-head vlogs or interviews.
- 60fps: Great for vlogs with fast-moving action, like travel or sports vlogs, as it offers ultra-smooth motion.
4.2 Resolution Choices: 1080p vs. 4K
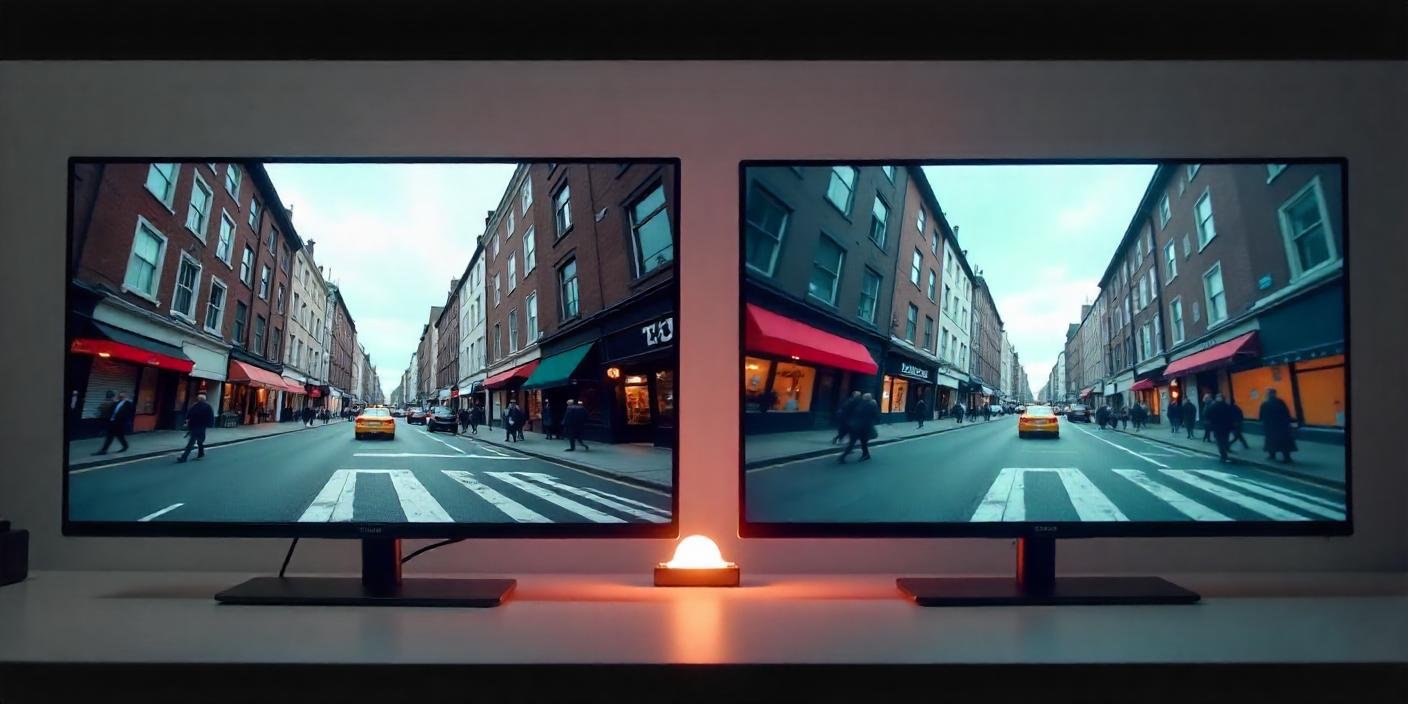
While 4K is becoming the new standard, many YouTubers still swear by 1080p for its balance of quality and ease of editing.
- 1080p (Full HD): Sufficient for most vlogs. It provides crisp video quality without straining storage or bandwidth.
- 4K: Offers four times the resolution of 1080p. Best for future-proofing your content, cropping, or offering viewers ultra-sharp details.
Comparison Table:
| Feature | 1080p (Full HD) | 4K |
|---|---|---|
| Resolution | 1920×1080 pixels | 3840×2160 pixels |
| File Size | Smaller, easier to edit | Larger, requires more storage |
| Editing Flexibility | Moderate | Excellent for cropping or stabilizing |
| Best For | Most YouTube vlogs | High-detail, cinematic vlogs |
5. Audio Settings: Enhancing Your Vlog’s Sound
Great visuals are only half of the equation; your vlog’s audio quality can make or break the viewer’s experience. Here’s how to optimize your sound settings for a professional-quality vlog.
5.1 Choosing the Right Microphone for Vlogging
A high-quality microphone can elevate your vlog’s audio from muffled to crystal clear, making your message more engaging and professional. Lapel mics (lavaliers) are perfect for capturing dialogue while reducing background noise. Shotgun microphones, mounted on top of your camera, are great for directional sound capture.
5.2 Audio Gain and Levels
The right audio gain levels ensure your sound is neither too quiet nor distorted, even when moving around or talking loudly. Set your audio gain just below the clipping point to avoid distortion.
5.3 Syncing Audio and Video for Seamless Vlogs
Sometimes, your camera’s built-in microphone won’t cut it, so syncing external audio with video footage is essential for a polished vlog. You can use software like Adobe Premiere or Final Cut Pro to sync audio automatically or manually.
6. Best Settings for Popular Camera Brands and Models
Different camera models offer various customization options, so it’s important to understand the best settings for the specific equipment you’re using.
6.1 Canon Cameras
Canon cameras, like the EOS M50 or the EOS R series, are popular choices among vloggers for their ease of use and excellent video quality.
- Recommended settings for Canon:
- Shutter speed: 1/60
- Aperture: f/2.8
- ISO: 400-800
- White balance: Daylight or Auto
6.2 Sony Cameras
Sony’s mirrorless cameras, such as the A7 series and ZV-1, offer some of the best video quality on the market.
- Recommended settings for Sony:
- Shutter speed: 1/50
- Aperture: f/2.8
- ISO: 800-1600
- White balance: Custom or Daylight
6.3 GoPro and Action Cameras
When vlogging in dynamic environments, action cameras like the GoPro can capture incredible footage in even the most extreme conditions.
- Recommended settings for GoPro:
- Shutter speed: Auto
- Aperture: Fixed (f/2.8)
- ISO: 100-400
- White balance: Auto
7. Editing Considerations Based on Camera Settings
While camera settings play a huge role in the quality of your vlog, editing allows you to refine your footage further. Here’s how to tweak your editing process based on the settings you’ve used.
7.1 Color Grading and Correcting White Balance
After filming, color grading allows you to adjust the look and feel of your vlog, especially if your camera settings weren’t perfect in the moment. If your footage looks too warm or cool, adjust the color temperature in post-production to create a natural appearance.
7.2 Enhancing Audio Quality During Post-Production
Even if your audio settings were spot-on, editing software can help you reduce background noise, balance levels, and ensure the best sound for your audience.
8. Final Thoughts: Your Path to Vlogging Success
Mastering the best camera settings for YouTube vlogging can drastically improve the quality of your content, making your videos look and sound more professional. By understanding the technical aspects of your equipment, you’ll be able to create stunning vlogs that capture and keep your audience’s attention. Experiment with these settings, practice, and find your unique style—there’s no perfect formula, but a great understanding of your gear will certainly give you an edge.
FAQs
1. Do I need to shoot in 4K for YouTube?
While 4K provides sharper images, 1080p is still sufficient for most vlogs. 4K is ideal for high-detail shots or for cropping during editing.
2. Can I adjust audio levels during recording?
Yes, you can adjust the audio gain or levels in your camera settings, but using an external mic with a built-in volume control gives you more precise control.
3. What is the best camera for vlogging?
Popular choices include the Canon EOS M50, Sony ZV-1, and GoPro HERO series. It depends on your budget and the type of vlogging you do (e.g., travel, studio, outdoor).
4. How do I avoid grainy footage at night?
To avoid grain, keep your ISO low (use a maximum of 1600) and use a wide aperture (f/1.8-f/2.8) to capture more light.
5. What’s the best shutter speed for vlogging?
For a natural look, set your shutter speed to double your frame rate. If you’re shooting at 30fps, set it to 1/60.