Natural Light vs. Artificial Light: What’s Best for Vloggers?
When you’re creating content for your vlog, the first thing viewers notice (even before your great ideas) is the lighting. No matter how good your camera is or how engaging your personality is, bad lighting can ruin everything. That’s why lighting is such an essential part of any vlogging setup. But here’s the age-old question every vlogger has to answer: should you use natural light or artificial light?
In this article, we’ll break down the pros and cons of both, compare their effectiveness, and help you decide what’s best for your unique vlogging style. Whether you’re just starting or you’ve been vlogging for a while, we’ll give you the tools to shine (literally) on camera.
I. The Importance of Lighting for Vlogging
Lighting is the secret sauce behind every great video. Without it, your content will never reach its full potential.
When we think of high-quality vlogs, we immediately think about the aesthetics. And lighting plays the biggest role in creating that look. Lighting is more than just about being visible; it’s about enhancing the mood, making you look professional, and engaging your audience right from the first frame.
1.1. The Impact of Lighting on Video Quality
Have you ever watched a video that was too dark or way too bright? It’s uncomfortable, right? Poor lighting can cause grainy footage, weird color tints, or even hard-to-see details. But the right lighting makes everything pop. It brings clarity, sharpness, and color accuracy to your vlogs. So when you’re considering lighting, think of it as a way to elevate your video quality.
1.2. Visual Appeal and Audience Engagement
Think about it: when you watch videos with good lighting, you automatically feel more connected to the creator. Your face is clearer, your expressions stand out more, and the viewers are less distracted by poor visibility. Simply put, lighting can help you connect with your audience in a way that raw footage never will.
1.3. Lighting’s Role in Creating a Mood or Atmosphere
Lighting sets the tone. If you’re filming a casual day-in-the-life vlog, warm, natural light might make you look approachable and friendly. If you’re doing a tutorial or product review, artificial lighting can make the details pop. Lighting is essential for setting the right vibe — whether it’s cozy, professional, or energetic.
II. Natural Light: The Pros and Cons for Vloggers

Natural light has an undeniable charm, but does it always live up to the hype? Let’s find out.
Natural light is often considered the holy grail for vloggers, and with good reason. It’s free, it’s soft, and it’s always available… or is it?
2.1. What is Natural Light?
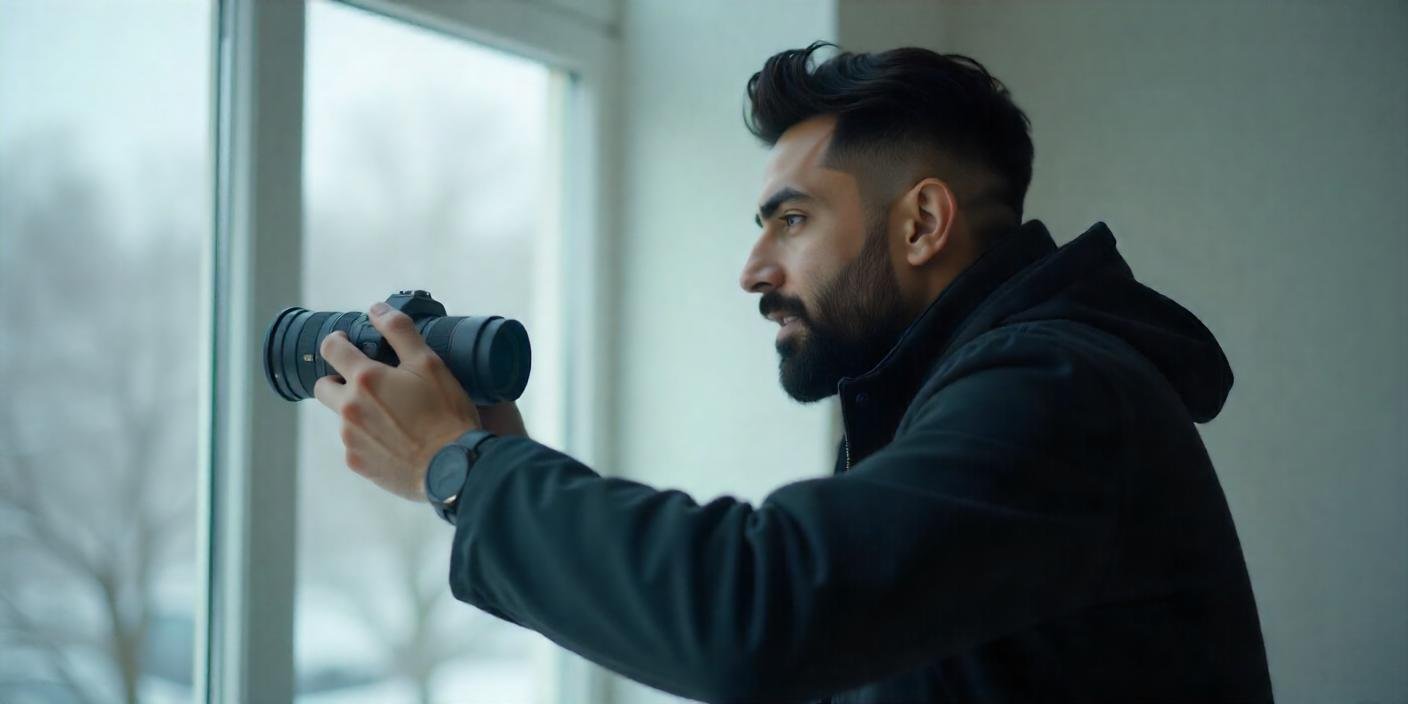
Natural light is sunlight — pure and simple. Whether it’s pouring through your window or you’re filming outside, it’s an authentic and beautiful way to illuminate your videos. But just because it’s free doesn’t mean it’s always easy to work with.
2.2. The Benefits of Using Natural Light for Vlogging
- Free and Accessible: The best thing about natural light is that it doesn’t cost a penny. As long as you’ve got a sunny day and a good spot near a window, you’re all set.
- Soft and Flattering: Natural light gives your skin a healthy glow and softens harsh features. It’s ideal for vloggers who want to look fresh without the need for complicated lighting setups.
- Consistency at the Right Times: During the early mornings or late afternoons (the golden hours), natural light can produce the most flattering and consistent results.
2.3. Drawbacks of Relying on Natural Light
Unfortunately, it’s not all sunshine and rainbows:
- Unpredictable Nature: The weather can change, clouds can roll in, and the sun can hide behind buildings. One minute, you’ve got great lighting, and the next, it’s gone.
- Limited Availability: If you’re filming indoors or during the evening, you won’t have access to natural light unless you set up near a window.
- Lighting Inconsistencies: The light changes throughout the day — what starts off as soft and warm can quickly turn harsh and glaring.
2.4. How to Maximize the Use of Natural Light
To get the most out of natural light:
- Timing Is Everything: Golden hour is your best friend. Shoot early in the morning or late in the afternoon when the light is softer and more flattering.
- Position Yourself Well: Always face the light for the best exposure. Don’t sit with your back to the window unless you want to look like a shadow.
- Use Reflectors or Diffusers: If the light is too harsh, consider using a white sheet or DIY reflectors to soften the light. This helps diffuse the sunlight, giving you a more even glow.
III. Artificial Light: The Pros and Cons for Vloggers
Artificial light offers total control, but does that mean it’s always better?
If you’ve ever found yourself frustrated with the unpredictability of natural light, artificial lighting might be the answer. It’s reliable, customizable, and widely used by vloggers who want to take their setup to the next level.
3.1. What is Artificial Light?
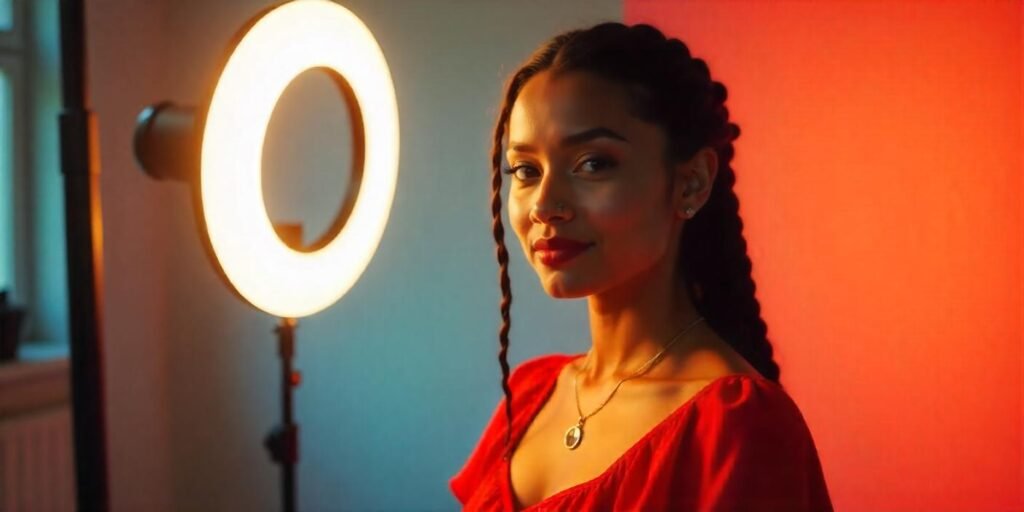
Artificial lighting refers to light that comes from man-made sources like LED lights, softboxes, ring lights, and more. Unlike natural light, artificial lights give you full control over how your video will look.
3.2. The Benefits of Artificial Light for Vlogging
Here’s why vloggers love it:
- Control and Flexibility: With artificial light, you have total control. You can adjust brightness, color temperature, and even the angle of the light. This means you can make sure you look just the way you want, no matter the time of day.
- Consistency: The best part about artificial lighting is that it’s steady. No worrying about cloud cover or sunset times. Once you set it up, it’ll stay the same throughout your filming session.
- Versatility: Whether you’re shooting indoors, outdoors, or at night, artificial lighting is always there to back you up.
3.3. Drawbacks of Artificial Light
While it’s incredibly useful, artificial lighting does have a few downsides:
- Cost: Depending on your budget, professional-grade lighting setups can be expensive. A good ring light can cost anywhere from $50 to $150, and high-end softboxes and LEDs can go for even more.
- Learning Curve: Artificial lighting requires a bit of knowledge. If you don’t understand how to set up your lights properly, you could end up with unflattering shadows or an unnatural glow.
- Harshness: If not diffused properly, artificial lights can be too harsh, creating unflattering shadows or making you look too bright or overexposed.
3.4. How to Use Artificial Light Effectively for Vlogging
To get the most out of your artificial lights:
- Softboxes and Diffusers: These are your best friends when it comes to softening and diffusing harsh light. They give you that smooth, even glow.
- 3-Point Lighting Setup: This classic setup involves three lights: a key light, a fill light, and a backlight. It’s the easiest way to ensure your face is well-lit without shadows.
- Color Temperature: Choose a light with a color temperature that matches your environment. Daylight-balanced lights (around 5500K) give a natural look, while warmer lights (around 3200K) create a more intimate vibe.
IV. Comparing Natural Light vs. Artificial Light

Both options have unique strengths. Here’s a breakdown of what they can offer you.
Let’s compare both types of lighting side by side:
| Feature | Natural Light | Artificial Light |
|---|---|---|
| Cost | Free | $50 – $500+ (depending on setup) |
| Control | Limited | Fully adjustable (brightness, color) |
| Consistency | Dependent on weather/time | Consistent and steady |
| Setup | Minimal setup (window or outdoors) | Requires equipment and setup |
| Best Use | Outdoors, casual, beauty vlogs | Indoor, professional, tutorial vlogs |
| Flexibility | Changes with time and weather | Reliable at any time or place |
IV.1. Key Differences in Control and Consistency
Natural light can’t be controlled in the same way artificial light can. Artificial light gives you perfect control over your environment. No surprises, no sudden shifts — just pure, reliable consistency.
IV.2. Aesthetic Qualities: Which Lighting Looks Better?
Natural light has a softer, more flattering look. But artificial light, if set up properly, can also provide a professional, clean, and vibrant appearance.
V. Choosing the Right Lighting for Your Vlogging Style
What lighting setup will work best for you? Let’s find out.
5.1. Vloggers Who Benefit from Natural Light
If you’re filming in bright, sunny places, or you love shooting outdoors, natural light might be your best friend. It’s perfect for beauty, lifestyle, and travel vloggers who want to embrace a natural vibe.
5.2. Vloggers Who Need Artificial Light
If you’re indoors, shooting in low-light conditions, or filming at night, artificial lighting is essential. It’s perfect for more structured setups, such as product reviews, tutorials, or professional interviews.
5.3. How to Combine Natural and Artificial Light
You don’t have to choose just one. Many vloggers use both natural and artificial light to balance soft, flattering illumination with the flexibility of controlled lighting. A mix of both gives you a dynamic look with the best of both worlds.
VI. Lighting Tips for Vloggers on a Budget
You don’t have to spend a fortune to achieve great lighting. Let’s explore some budget-friendly options.
6.1. Budget-Friendly Natural Light Alternatives
If you’re on a tight budget, use what you’ve got: your windows! Reflectors can be made from simple items like foam boards or aluminum foil to bounce light back onto your face.
6.2. Affordable Artificial Lighting Options
Good lighting doesn’t have to be expensive. A basic ring light can cost as little as $50 and still give you a professional look. Other budget-friendly options include small LED panels or affordable softboxes.
6.3. DIY Lighting Setups
Even a few household items can make a big difference. Create a diffuser using a white shower curtain or a simple lampshade. Be creative with what you have — your lighting doesn’t need to come with a hefty price tag.
VII. Final Thoughts: Finding the Right Lighting for You
The best lighting setup for your vlogs depends on your unique style and circumstances. But with the right tools, you’ll always look your best on camera.
Natural and artificial light each have their own strengths. The key is knowing when and how to use them to your advantage. Experiment with different setups, combine them if needed, and most importantly, have fun with it! Good lighting can make a huge difference in the way your audience perceives you.
FAQ Section
1. Can I use just natural light for my vlogs? Yes, absolutely! Many vloggers use natural light to create stunning footage, especially when they film near windows or shoot outdoors. Just be mindful of the time of day and weather conditions.
2. What’s the best lighting setup for beginners? A ring light is a great option for beginners. It’s affordable, easy to use, and gives you even, flattering light with minimal setup.
3. How can I avoid shadows in my videos? Use diffusers or softboxes to soften the light, and adjust your light sources to eliminate harsh shadows. Placing the lights at different angles also helps reduce unwanted shadows.
4. Do I need to buy expensive lighting equipment? Not at all! You can get great lighting with affordable gear. Start with a budget-friendly ring light or some simple LED panels and work from there.